The serial console plays a very important role in the development of system software and applications on Embedded Linux boards. Enabling serial console gives lot of advantage while using Raspberry Pi. Even though Raspberry Pi support HDMI Display interface, enabling the serial console will help in getting
- Linux boot logs as well as to enter into Linux shell
- For accessing Linux board over the network using SSH and to configure wifi on Raspberry Pi.
In this demo we are using Raspberry Pi Zero board, as 40 pin header and UART pin numbers are same for other variants this is applicable for other Raspberry Pis like 3B and 4.
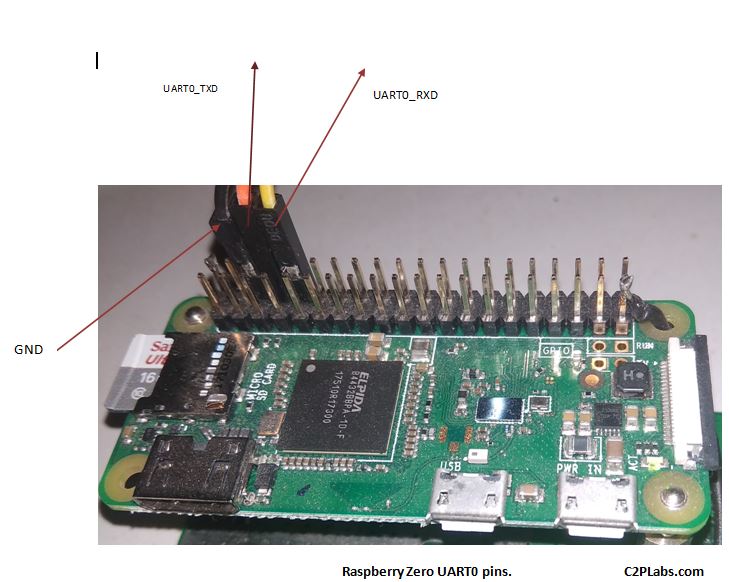
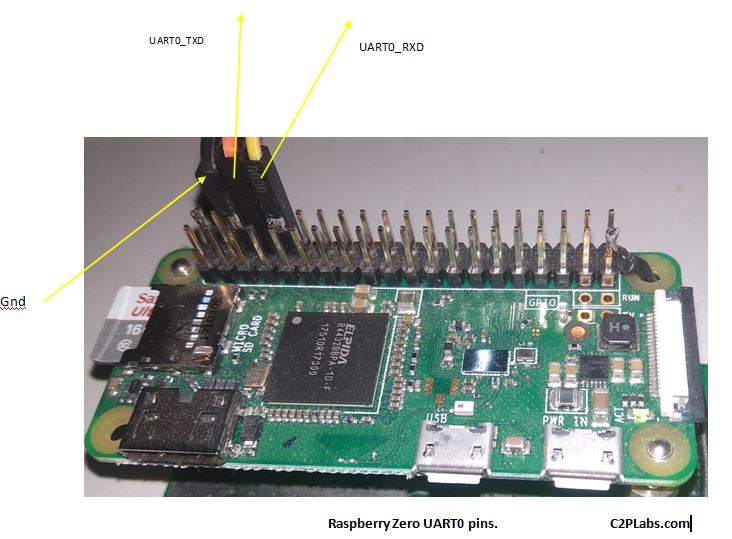
In Raspberry Pi Zero 40 pin header, pin-6 is GND, pin-8 is UART_TXD and pin-10 UART_RXD, these pins are used to connect to PC using PL2303HX USB To TTL(Serial) Converted module. This module gives COM port on Windows system or /dev/ttyUSBX device on Linux PC. In this demo as we are using Ubuntu PC as a development host for cross-compiling the kernel and required software running on Raspberry Pi, we use /dev/ttyUSB0 and Minicom serial terminal for getting the data from the board.
The hardware setup required for connecting the serial console is as shown below.

When you mount Raspberry-Pi sd-card, in the /boot/ partition there is a config.txt file, edit this file and add a config variable
# Enable UART
enable_uart=1
In the same /boot/ partition one more text file is found with name cmdline.txt edit this file and make sure that the following boot arguments are added in the cmdline.txt file
“console=serial0,115200 console=tty1”
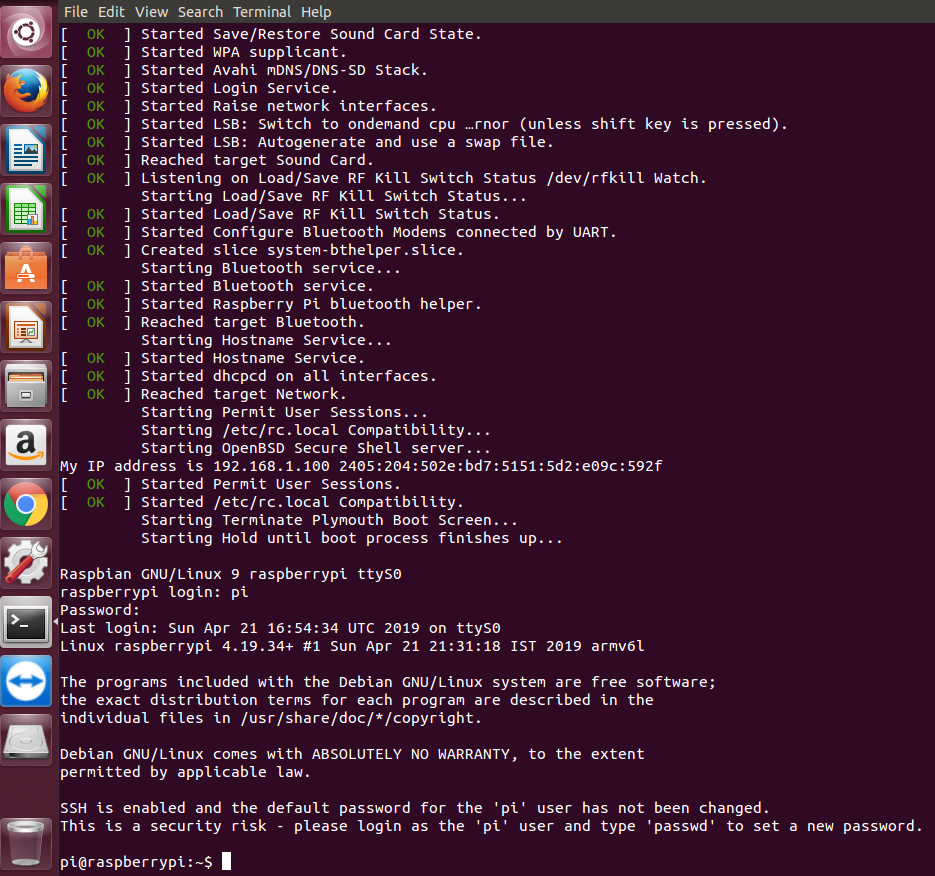
Above two settings enable serial console on Raspberry Pi zero and Linux shell can be accessed via serial port to configure Wifi and N/W parameters. Below picture shows the minicom output which shows the boot log of Raspberry-pi, the shell can be accessed using username: pi and password “raspberry”

There is a demo which shows enabling Serial Console on Raspberry Pi Zero W.

