PlatformIO is the complete IDE for embedded development, this is currently supporting different platforms and multiple boards in each platform. In this blog we will see how to install PlatformIO with Visual Studio code editor for developing embedded applications. We can get the details of different platforms supported by this IDE at https://docs.platformio.org/en/latest/platforms/index.html. PlatformIO also supports different frameworks like Arduino, CMSIS, FreeRTOS, ESP-IDF etc.
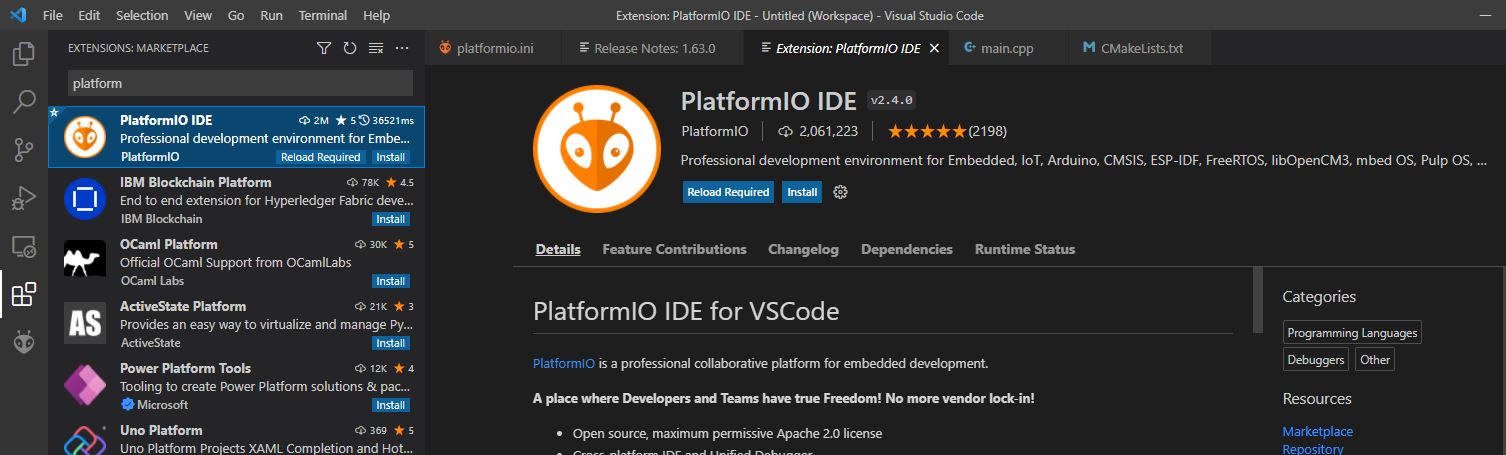
Download and install Visual Studio code from https://code.visualstudio.com/download Once the installation is complete Launch the VS Code and click extension button on the left side pane, this will open extensions search bar where we can search for PlatformIO, select PlatformIO and install as shown in the below pic.

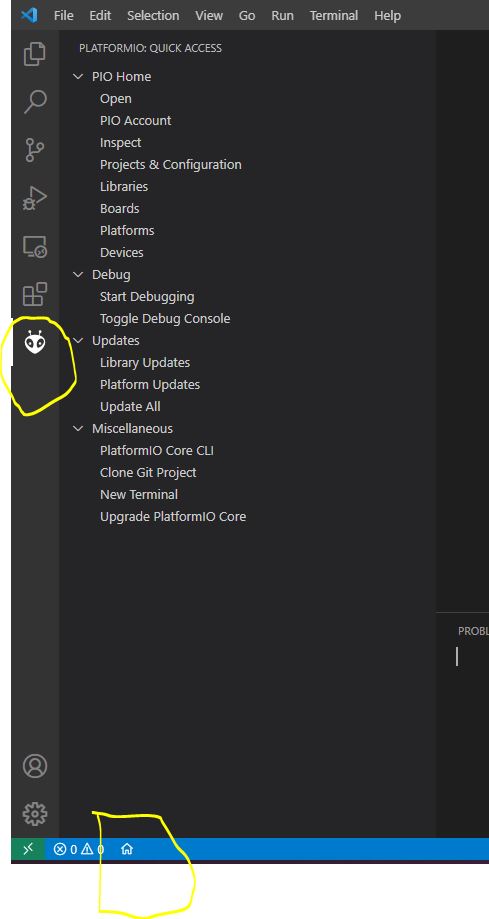
After successful installation of PIO extension you will see PlatformIO button on left pane and home icon on the left bottom toolbar as shown in below fig, and click on home icon to start working with PlatformIO.
When you click on home icon then you will see PlatformIO Home where you can create new project, open existing project etc. When you click on new project new project dialog is opened. Give the following details like name of the project, Name of the board and Framework and click on finish. Here we are giving name as esp32_hello, and the board we are using is ESP32 Pico board. PlatformIO supports two frameworks for ESP32.
- Arduino framework
- Espressif IoT Development (ESP-IDF) framework. We are selecting ESP-IDF for this example.
ESP-IDF is framework from Espressif has rich set of libraries and supports FreeRTOS kernel. In this blog post we limit our discussion to PlatformIO.
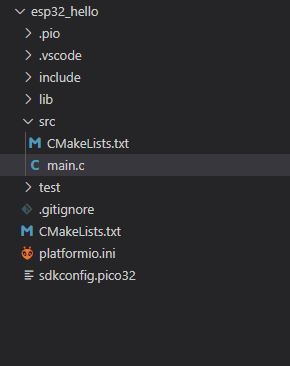
The folder structure created by PlatformIO for this project is as shown below.
Add the required code for main.c and add new source files required. After making the required modification to the source files, project can be built using build icon on left bottom toolbar next to home icon as shown in below fig.
Once project is built successfully without any errors, binary image can be upload to target board using upload icon.